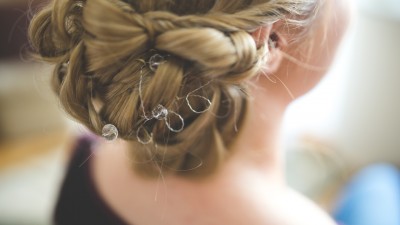
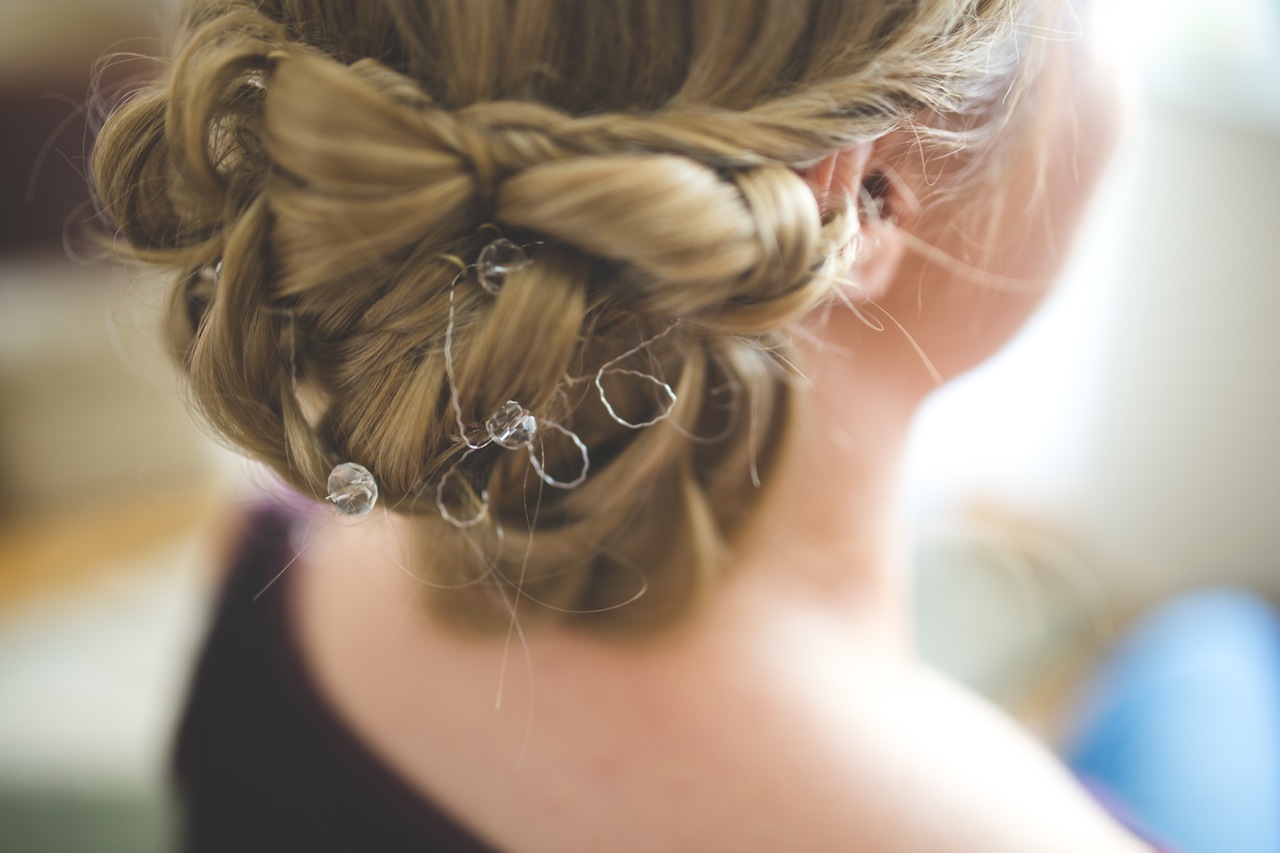
Looks matter a lot when it comes to your Quince day. You’ll definitely want to pamper yourself like the princess you are when it comes to make-up and hair. You may already have a huge collection of pins and photos for DIY hairstyle ideas, but have you included any ideas using spin pins? They’re one of the coolest hair tools out there and are super-easy to learn how to use. You can create anything from a “messy bun” to a high-style updo. All it takes is a little creativity, a couple of these handy pins, and some practice!
Just what are Spin Pins anyway?
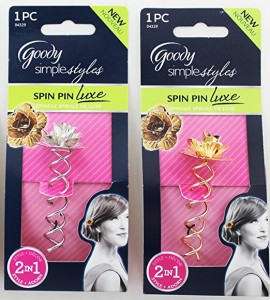
Spin pins are handy little gadgets that will hold even the finest hair in place. You can get them at your local beauty supply store, at a drugstore with a good hair accessory selection, and you can order them online from eBay and Amazon. They come in different colors to match or contrast with your hair color—black, brown, gold, pink gold, and silver, depending on where you search—and some are available with a built-in accessory like a flower:
… or a pearl:
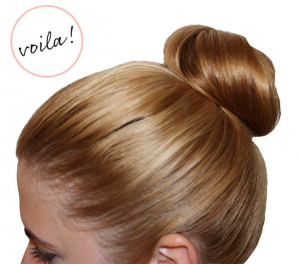
Basic Technique: the 1-Minute 3-Step Bun
Starting note: You do not need a ponytail holder—just 2 spin pins!
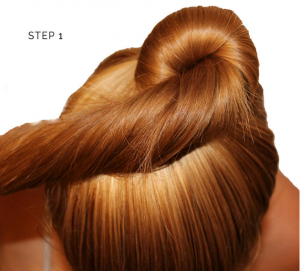
1. Gather your hair into a ponytail then twist it into a bun (the higher the ponytail, the higher the placement of the bun).
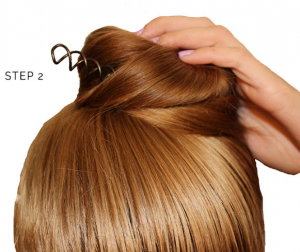
2. Insert one spin pin on one side of the bun by twisting the pin clockwise.
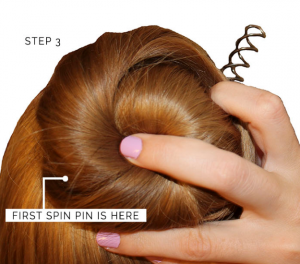
3. Insert the 2nd pin directly across but a little off-center from the first pin.
Important: Do not let the pins overlap inside your hair or else they’ll be very stubborn to take out.
To remove the pins: Spin the pins out counter-clockwise—never just tug on them.
Messy Bun:
You can make a messy bun either higher or lower depending on where you start the ponytail.
Here’s the photo tutorial for that lower messy bun:
Double Chignon:
For this, you’ll need 4 spin pins, but you can see how to do it just from the photo:
- 1st make the top bun by using the front half of your hair twisted higher on your head.
- Make 2nd bun from the bottom portion of your hair.
Note: This style works a little better if your hair is thicker. You can also create the buns as close together as you like, then tuck in some flowers or other hair decoration.
Short Hair: Triple Chignon with Flowers:
This style works really well with short hair. Use 2 spin pins per bun and if you need to, add a few bobby pins to hold any errant strands in place.
Here’s the full photo tutorial: https://www.pinterest.com/pin/220394975494947441/
BONUS!: Here’s a list of 21 spin pin hairdos! (We’ll highlight some of our favorites below.)
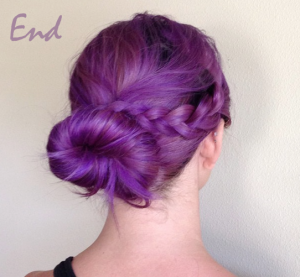
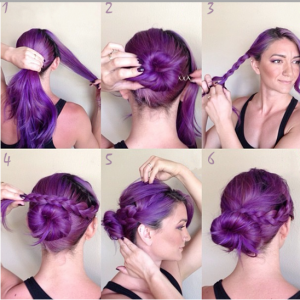
Add a Braid:
Keep one generous strand of hair at the front before you make your ponytail. Gather your hair, pin it into the bun, then create the braid and pin it around.
Split Wrapped Low Chignon:
This is the same idea as the braid, except you’ll keep two strands at the front and then twist and pin them instead of braiding.
You do need one ponytail holder for this, but that’s just to get you started. You’ll still create the starter bun with the spin pin, then use pins to hold the wrapped strands in place.
Hold a Princess ‘Do in Place:
This one is so easy, who needs written instructions?!
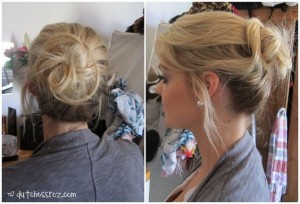
Beautiful Messy Side Strand Chignon:
The trick here again is not to gather all the hair into the bun but instead, leave two strands on either side, then wrap them up and over the bun.
Off-Center Side Chignon:
Make Your Own Decorative Spin Pins!
These are just too easy and too pretty! You can make pins to match your Quince theme or just use one color flower or beads. Here’s the tutorial: http://thespohrsaremultiplying.com/hair/diy-jeweled-spin-pins/#axzz4VrOQQoRx
For more super-easy DIY Quince hairstyle ideas, check this out:
http://qbydavinci.com/blog/stunning-diy-quinceanera-hairdo-tricks/












Comments